Setting Up a Custom Email Domain
Send affiliate emails from your own domain instead of the default toppal.io address.
Written By Toppal Support
Last updated 3 months ago
Setting Up a Custom Email Domain
By default, Toppal sends affiliate emails (invitations, notifications, payout confirmations) from a `@toppal.io` address using a configurable prefix. Connecting a custom email domain lets you send from your own address (e.g., `affiliates@yourdomain.com`), improving deliverability and brand consistency.
Plan requirement: Custom email domains are available on Standard and Pro plans.
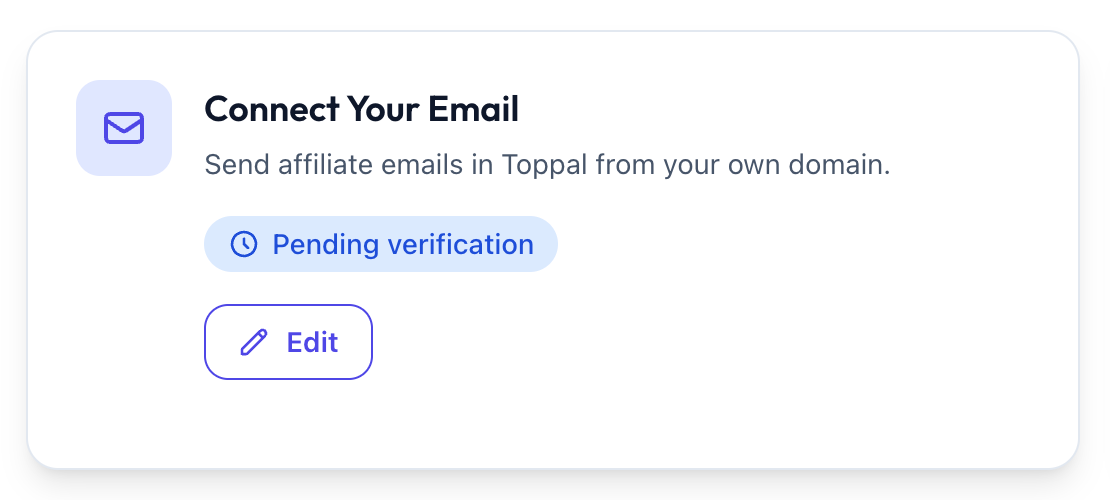
Default Behaviour (No Custom Domain)
Without a custom domain configured, all affiliate emails are sent from:
{prefix}@toppal.ioYou can change the prefix at any time in Admin > Customise > Email Sending.
Step 1: Connect Your Domain
Navigate to Admin > Integrations > Email.
Click Connect Custom Domain.
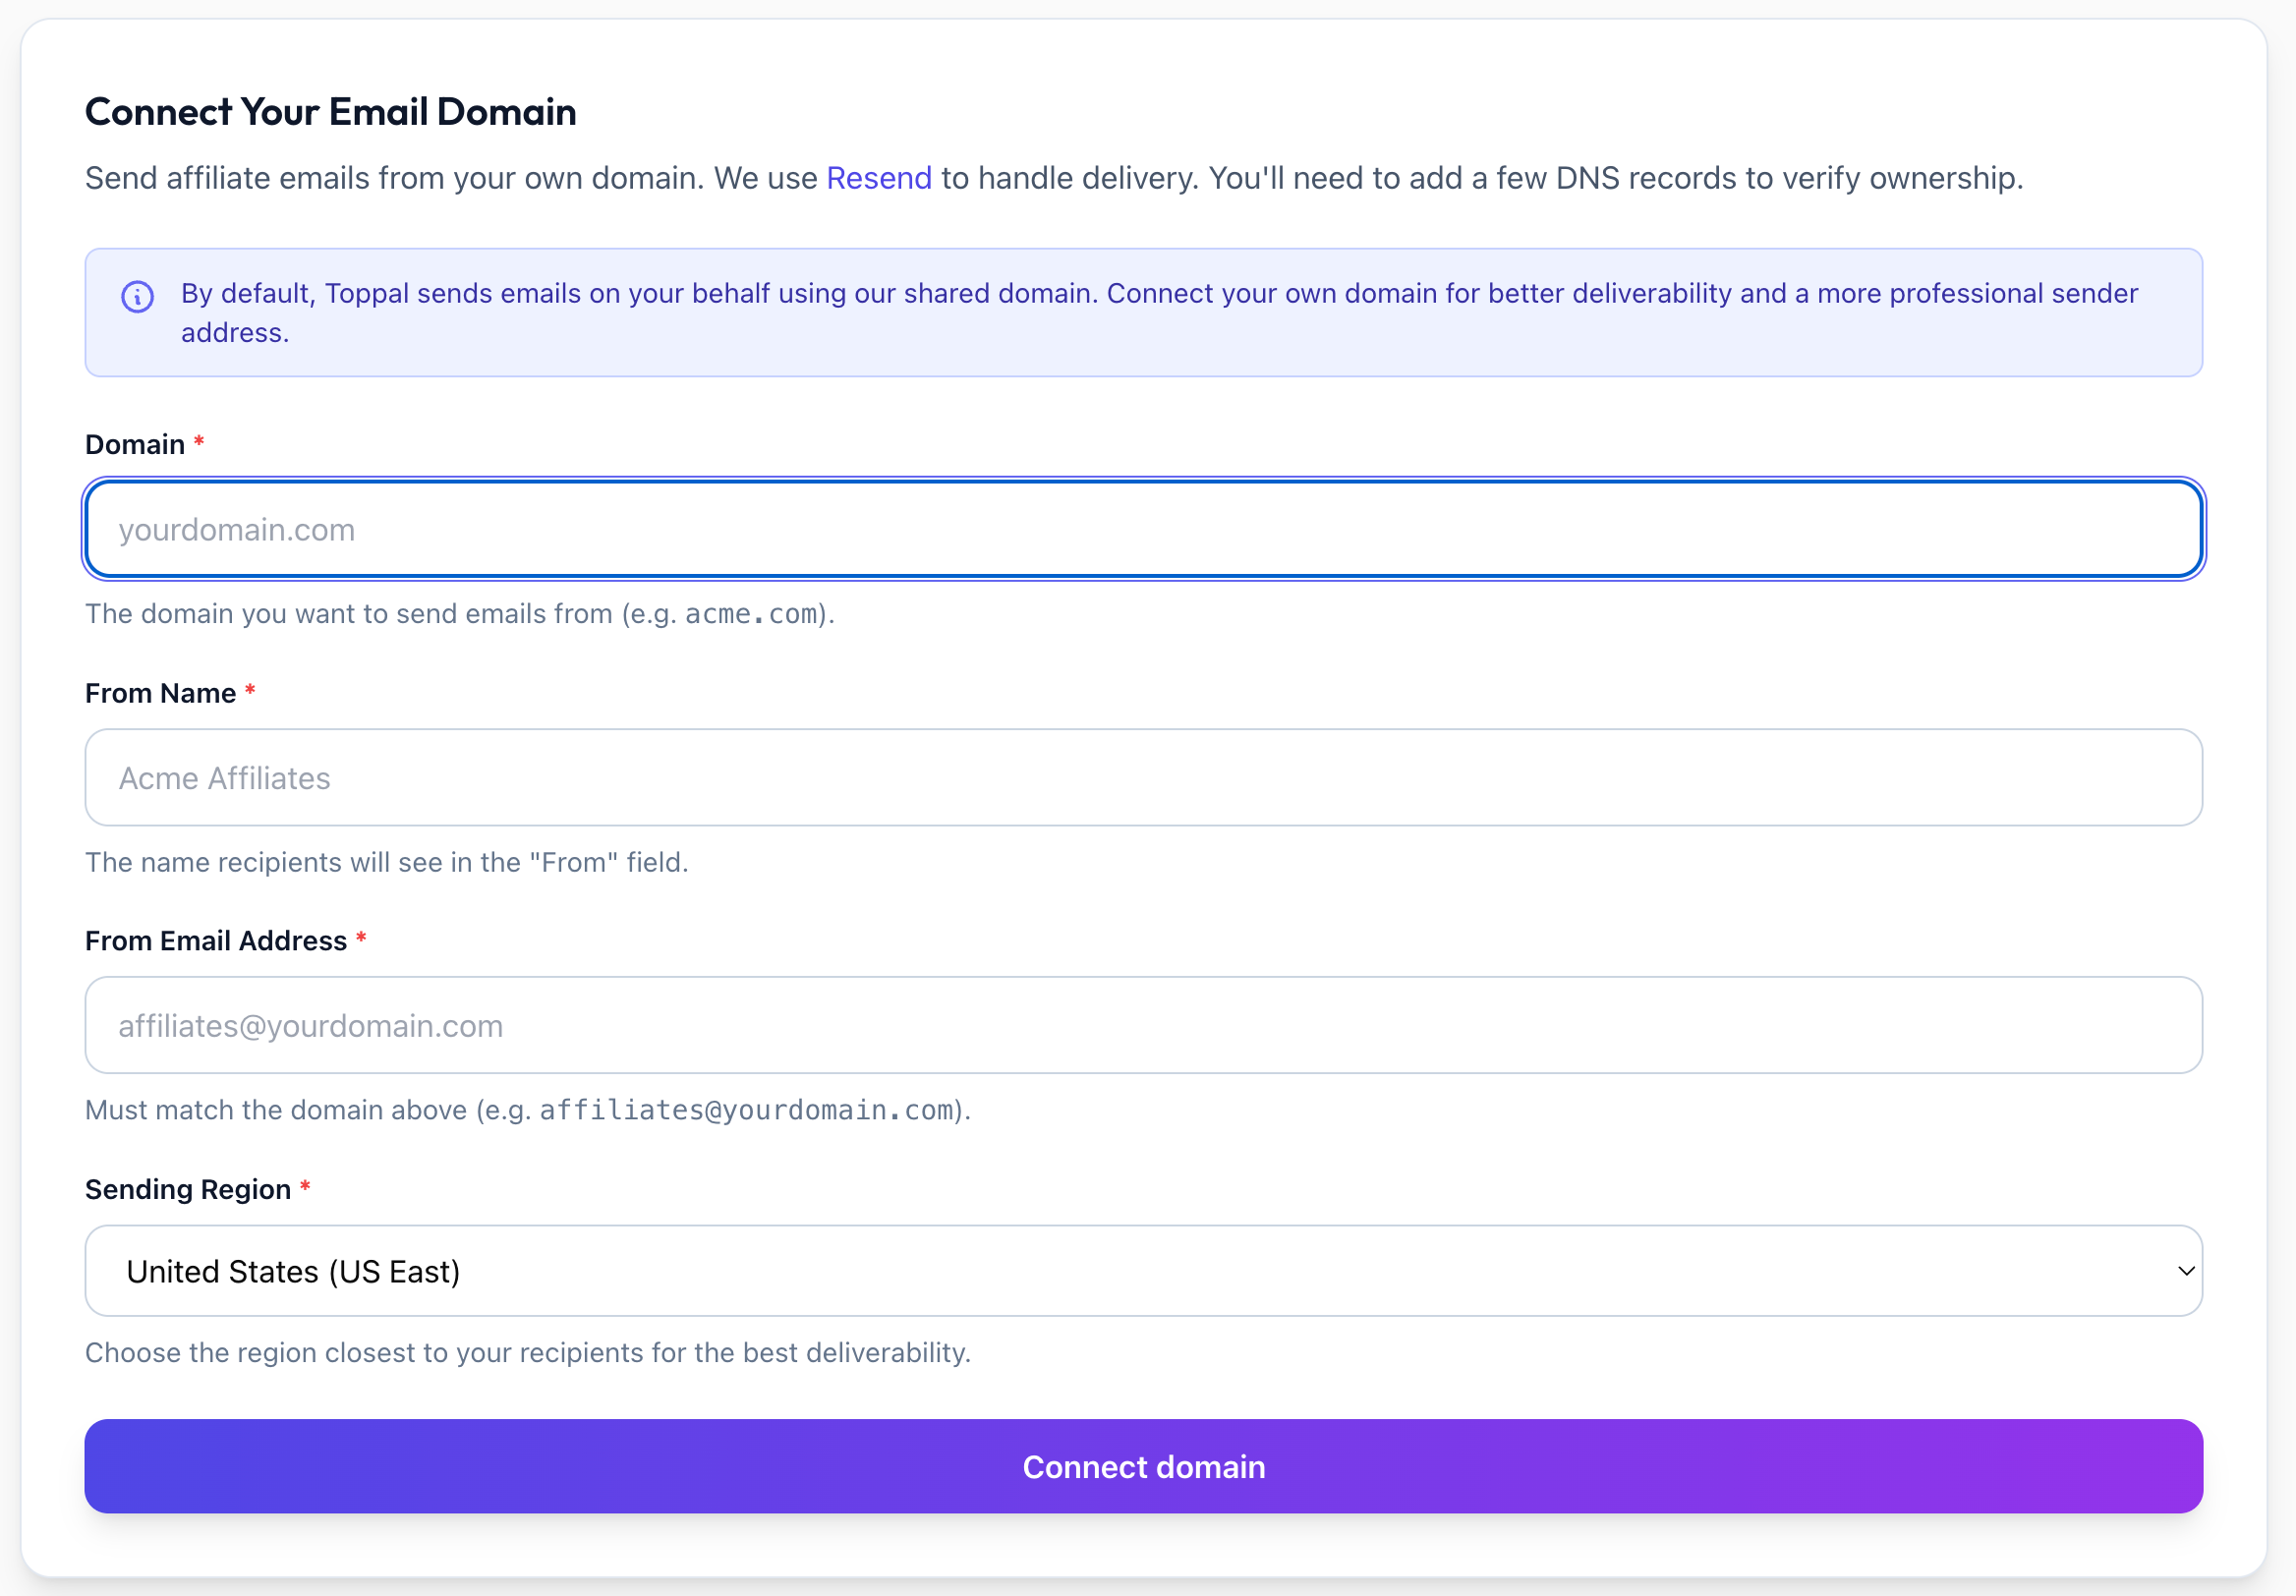
Fill in the following fields:
Domain -- Your root domain (e.g., `yourdomain.com`). Do not include a subdomain unless you specifically want to send from one.
From Name -- The display name recipients see (e.g., `Your Marketplace` or `Affiliate Team`).
From Email -- The full email address to send from. This must use the domain you entered above (e.g., `affiliates@yourdomain.com`).
Sending Region -- Choose the region closest to your recipients for best deliverability: US East (Virginia), EU West (Ireland), South America East (Sao Paulo), Asia Pacific Northeast (Tokyo).
4. Click Connect Domain to proceed.
Step 2: Verify DNS Records
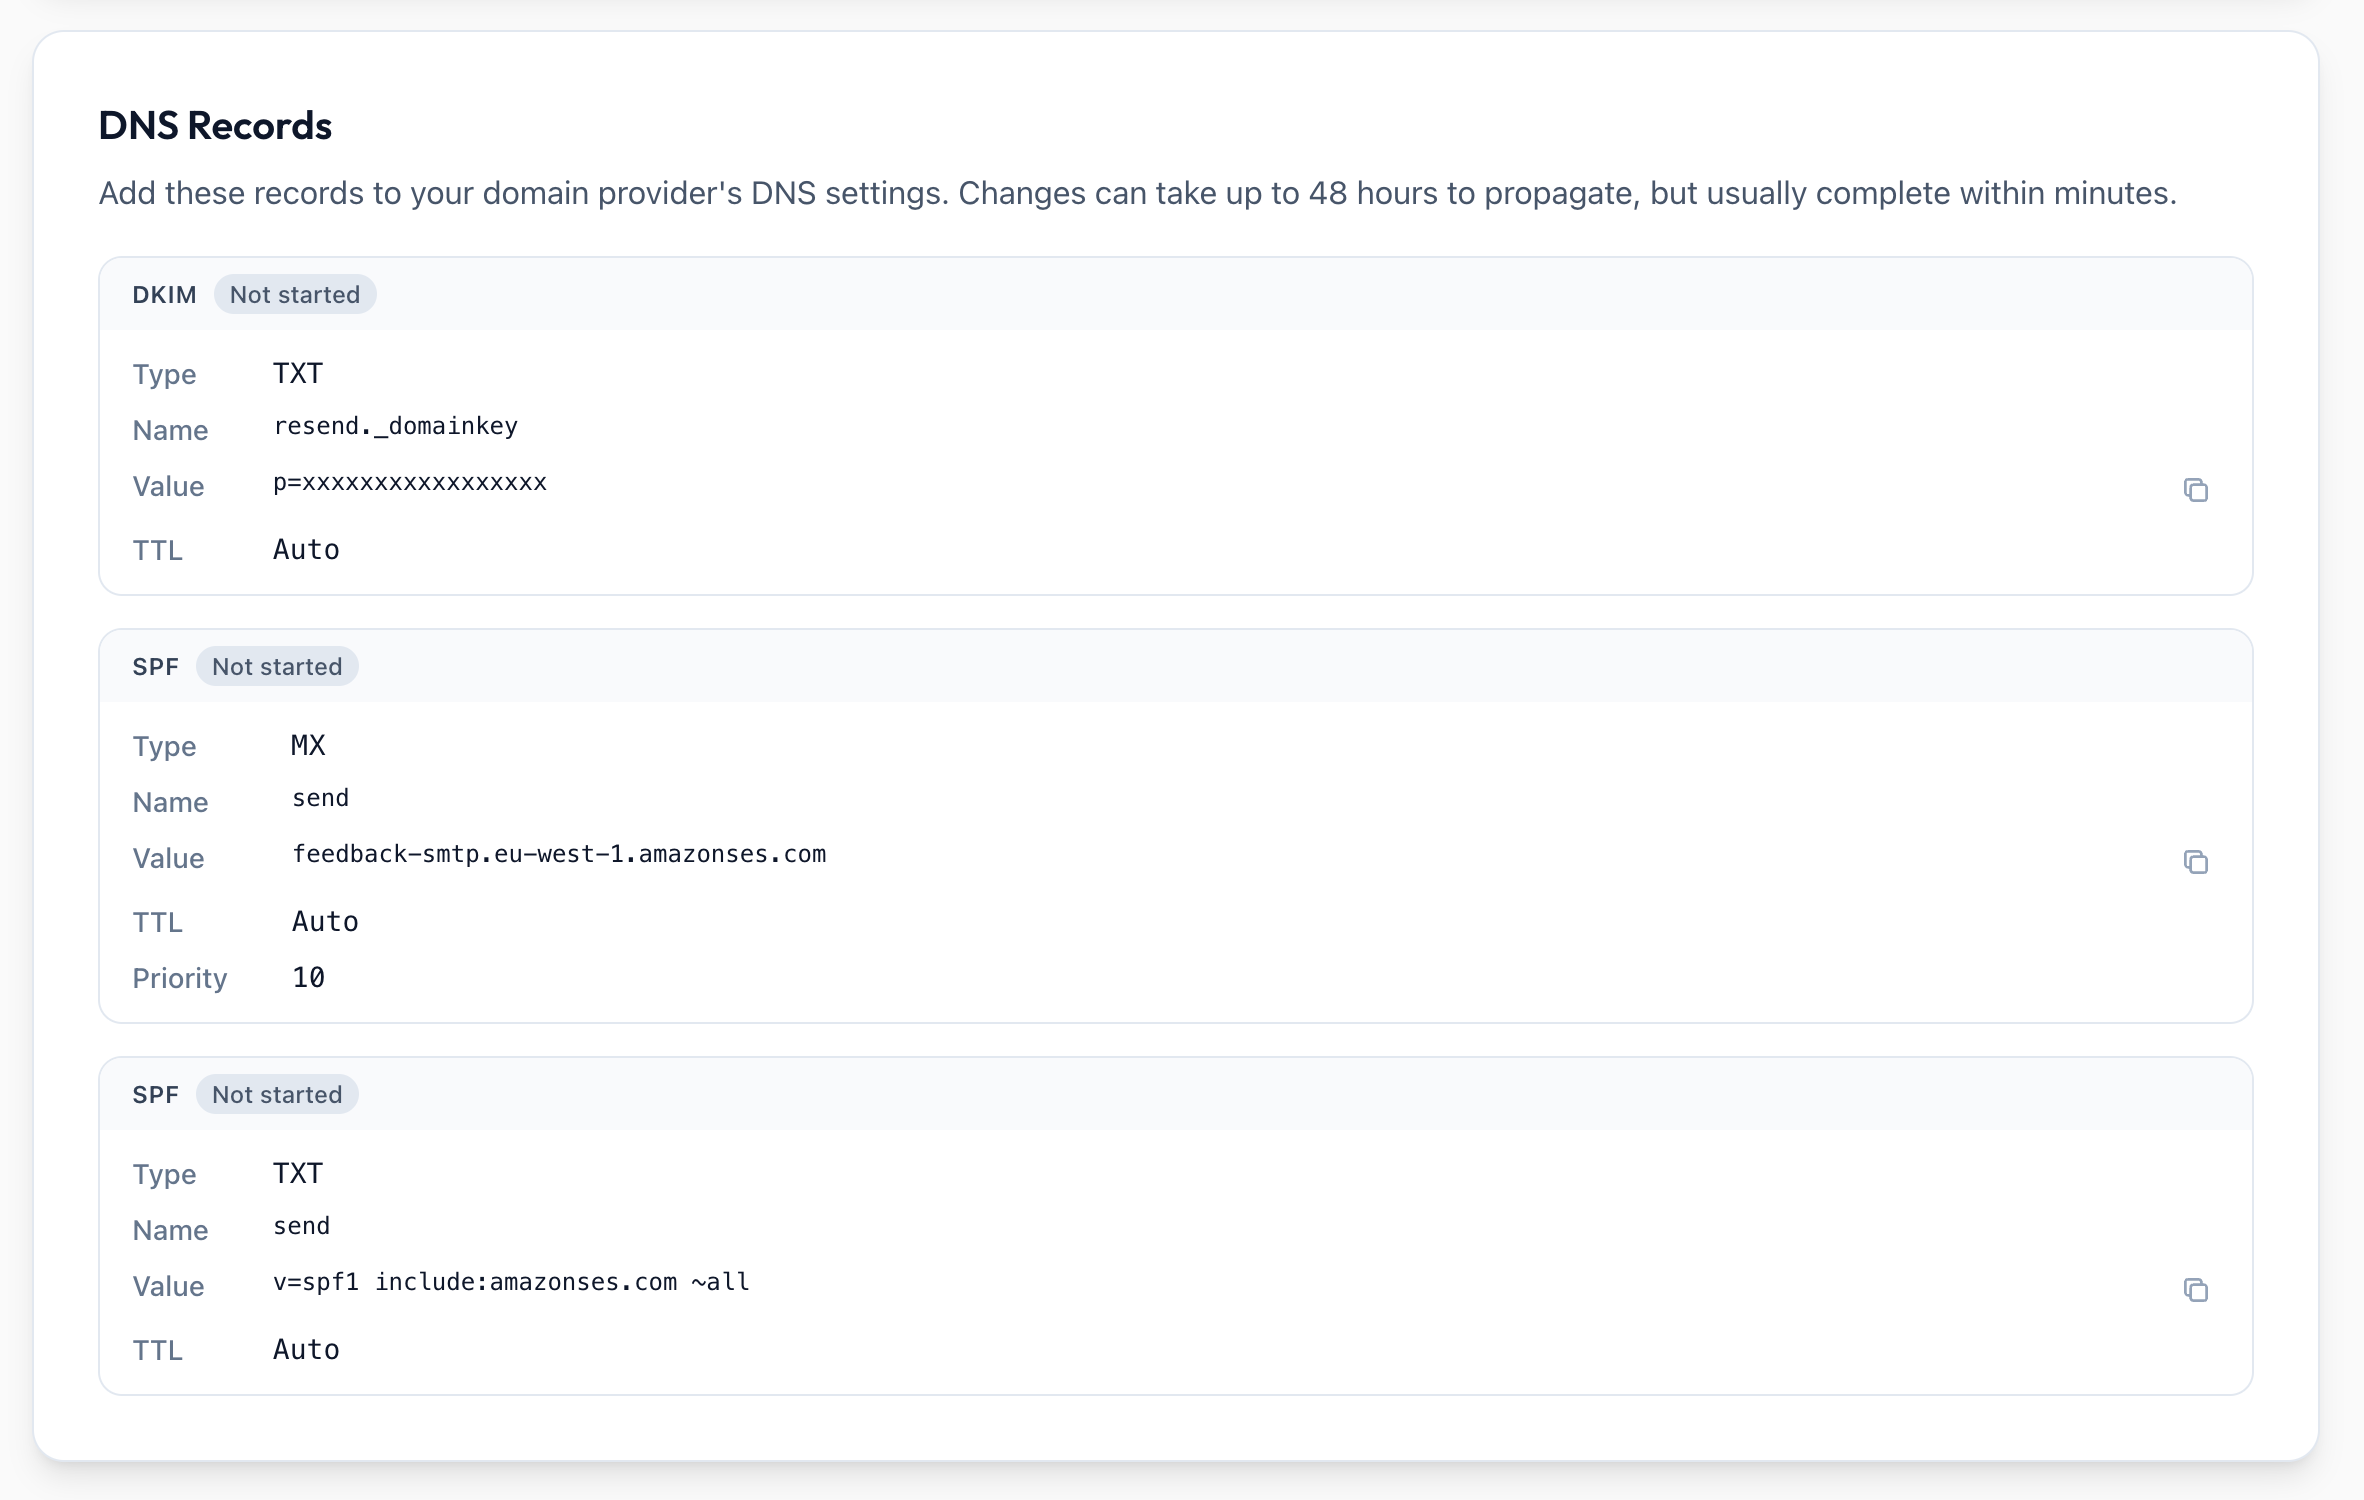
After connecting, Toppal displays a set of DNS records that you need to add at your domain provider.
Records to Add
Toppal will show you the specific values for each record. Typically these include:
SPF record -- Authorises Toppal's email infrastructure to send on behalf of your domain.
DKIM records -- Cryptographic signatures that verify email authenticity.
Adding Records at Your DNS Provider
Log in to your DNS provider (e.g., GoDaddy, Cloudflare, Namecheap, Route 53).
Navigate to the DNS management section for your domain.
Add each record exactly as shown in Toppal -- pay attention to the record type (TXT, CNAME), host/name, and value fields.
Save your changes.
Verifying
Return to Admin > Integrations > Email in Toppal.
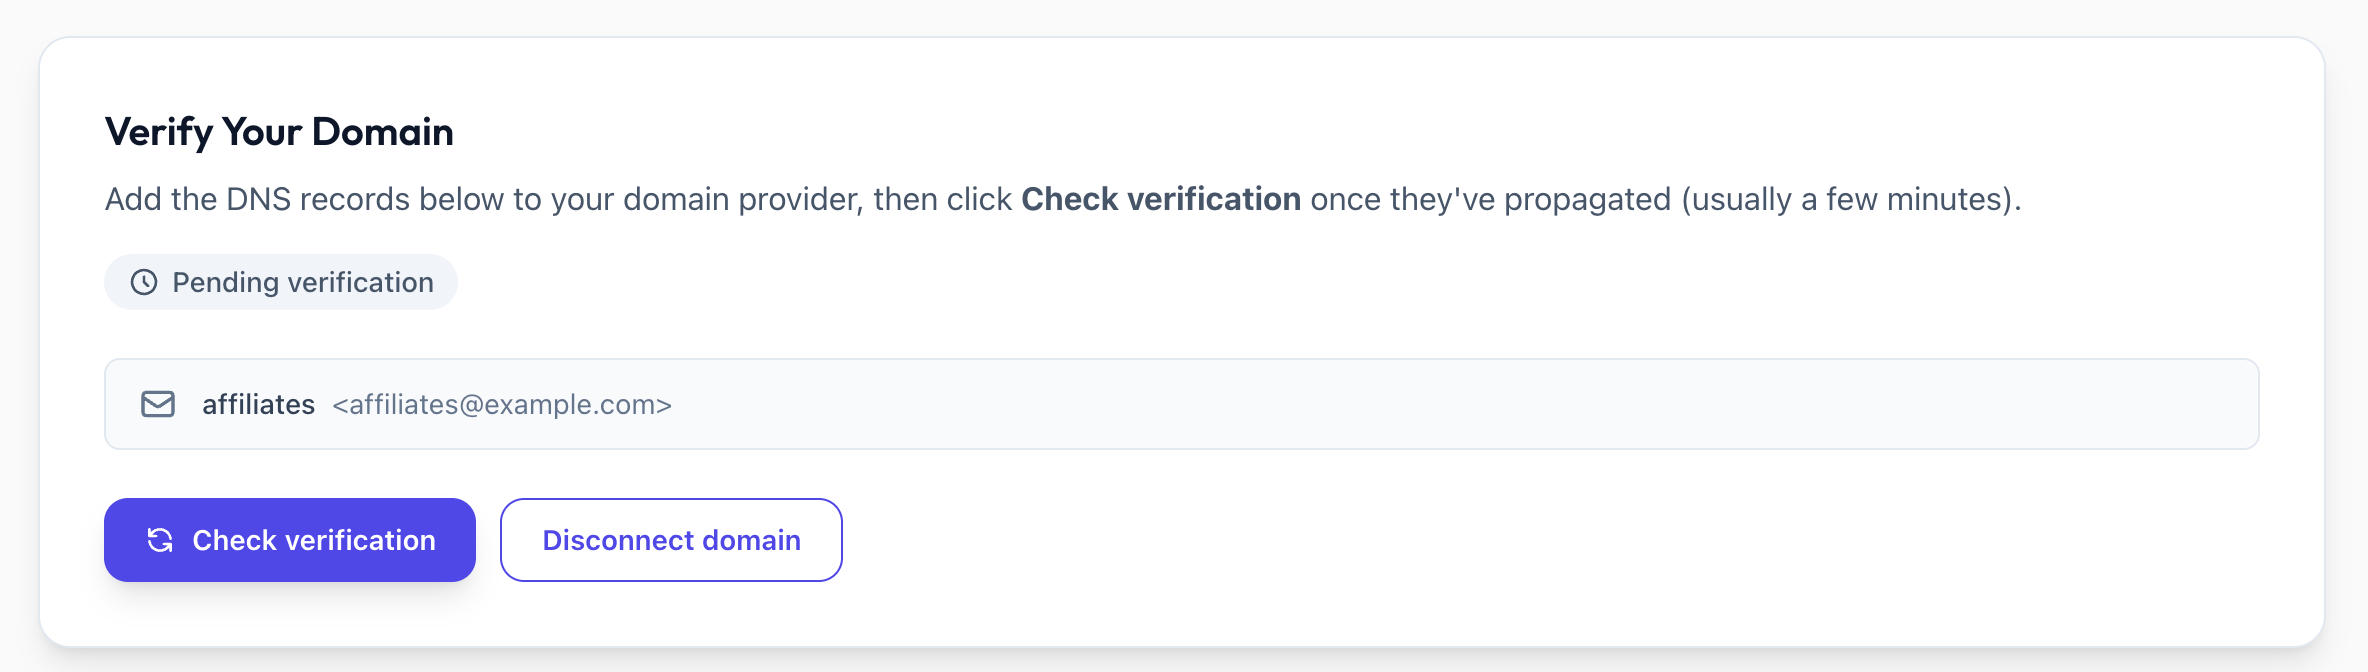
Click Check Verification.
If the records have propagated, the status will update to Verified.
Connecting does not mean verified. A newly connected domain shows a blue Pending verification pill until your DNS records are confirmed. Toppal re-checks the live status automatically each time you open the page, so the pill clears on its own once propagation completes. Check Verification only re-reads the current status; it never resets an already-verified domain.
Note: DNS propagation can take anywhere from a few minutes to 48 hours depending on your provider and TTL settings. If verification fails, wait and try again later.
Step 3: Verified and Ready
All affiliate emails will automatically send from your custom address.
The From Name and From Email you configured will appear in recipient inboxes.
You can send a test email from the integration page to confirm everything is working correctly.
Managing Your Custom Domain
Updating Settings
To change the from name or email address, disconnect the current domain and reconnect with the new settings.
Disconnecting
Navigate to Admin > Integrations > Email.
Click Disconnect.
Confirm the disconnection.
After disconnecting, emails will revert to sending from your {prefix}@toppal.io address.
Troubleshooting
Issue: Stuck on "Pending verification" — Resolution: DNS can take up to 48 hours to propagate. Confirm each record is added exactly as shown, then click Check Verification again (or reopen the page — status auto-refreshes). Issue: Emails landing in spam — Resolution: Confirm both SPF and DKIM records are correctly configured. Check that your domain does not have a restrictive DMARC policy that conflicts. Issue: "Domain mismatch" error — Resolution: The From Email address must use the exact domain you entered in the Domain field.